Back to: ELECTRONICS
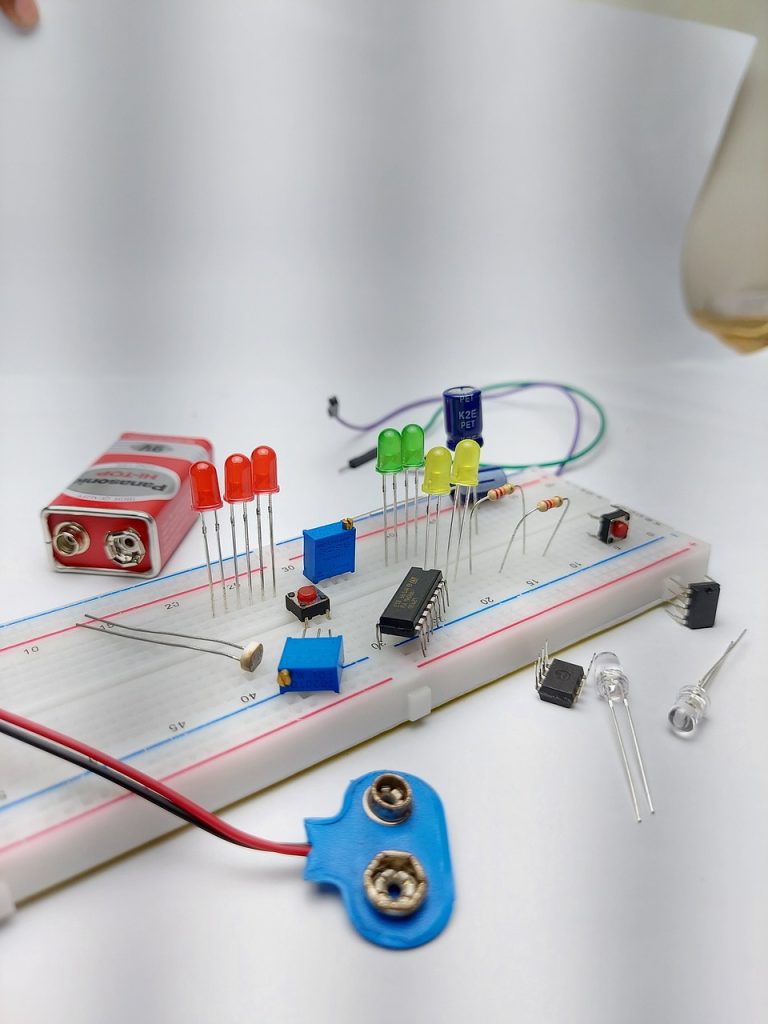
Building circuits can be a fun and educational hobby, and with a breadboard, you can assemble and test electronic circuits without the need for permanent soldering. Whether you’re just starting or want to prototype something quickly, a breadboard is an excellent tool to help you explore the world of electronics.
What Is a Breadboard?

A breadboard is a reusable platform used for building and testing electronic circuits. It has a grid of holes arranged in rows and columns, designed to hold electronic components and connect them electrically. This setup makes it easy to build and modify circuits without having to solder anything, so you can test and tweak your designs quickly.
Parts of a Breadboard
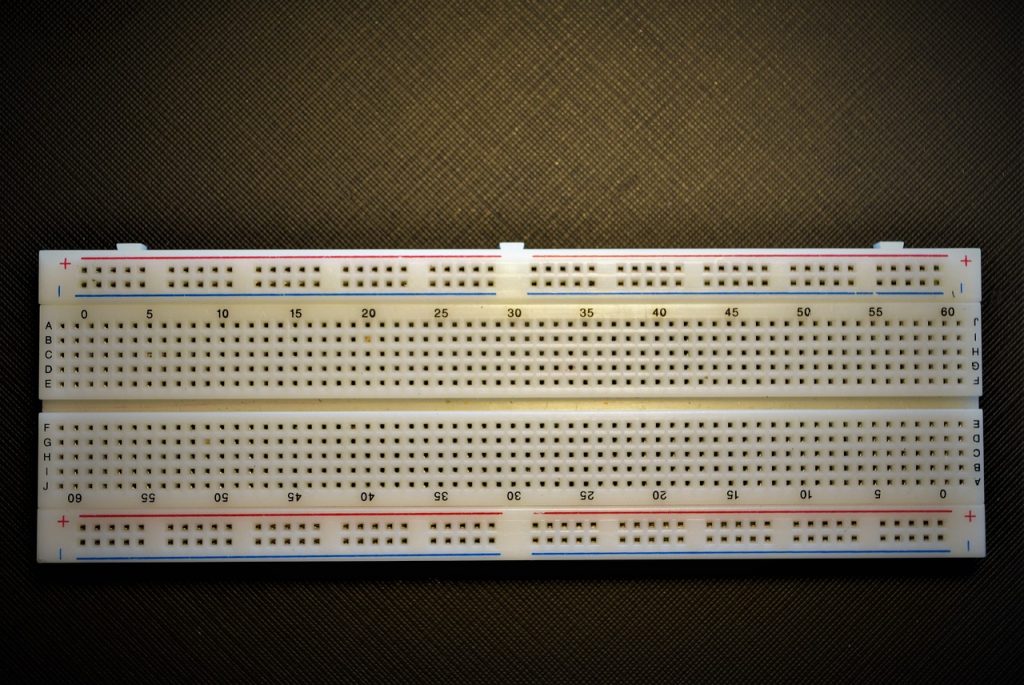
Breadboard Layout
- Power Rails: These are typically found along the top and bottom edges of the breadboard. They are used to distribute power (positive and negative) to different parts of the circuit. One rail is for positive voltage, and the other is for ground (negative).
- Terminal Strips: This is the central area of the breadboard, where most of the components are placed. The holes in these strips are electrically connected in rows. This makes it easy to link different components without the need for wires.
Setting Up Your Breadboard
1. Connect Power Supply
To get started, you’ll need to connect the power supply to your breadboard. Use jumper wires to connect the power rails to a battery or power supply. One rail will be connected to the positive side, and the other to the ground (negative) side.
2. Insert Components
Once your power supply is connected, it’s time to insert the electronic components into the breadboard. Components like resistors, LEDs, and transistors have legs (pins) that you can insert into the holes of the breadboard. Be sure to place each leg in a different row, as the holes in the same row are electrically connected.
When placing components on a breadboard, it’s helpful to group them by the number of legs they have. Here’s a summary of considerations for placing similar components together:
- Two-Legged Components (Resistors, Capacitors, Diodes, LEDs)
- Insert each leg into separate rows. Ensure that components like diodes and LEDs are placed with the correct orientation (anode to positive, cathode to negative). Ensure correct polarity for polarized components like electrolytic capacitors.

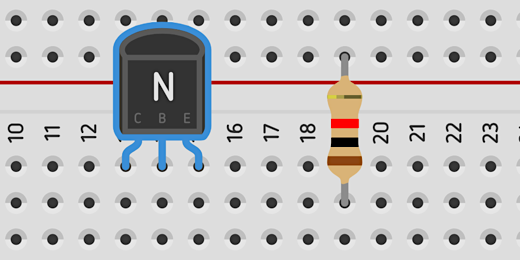
- Three-Legged Components (Transistors)
- Place the transistor in the center so that each of its three pins (Collector, Base, and Emitter) is inserted into a separate row. Ensure correct orientation for NPN or PNP transistors.

- Four or More-Legged Components (Switches, ICs, Sensors)
- 4-Pin Switches: Place the switch in the middle of the breadboard so that each pair of pins is in separate rows for proper functioning.
- ICs (Integrated Circuits): Position ICs in the center of the breadboard so that their pins are split between two rows. Connect power and ground pins to the appropriate rails.
- Sensors/Modules: For components with multiple pins (like sensors or modules), place each pin in a separate row, ensuring power and ground connections are correct.

General Tips for Placing Components:
- Avoid Overcrowding: Don’t place too many components in one area, as it may make it difficult to modify or troubleshoot your circuit later.
- Use the Power Rails: Always connect the power and ground rails to ensure that your circuit has the correct power distribution.
- Double-Check Connections: Before powering on your breadboard, double-check all connections to make sure everything is in the right place. Even small errors can prevent your circuit from working.
- Use Color-Coded Wires: It helps to use different colored jumper wires for different parts of your circuit (for example, red for positive voltage, blue for ground, and other colors for signal connections). This makes it easier to follow your circuit and spot mistakes.

Using a breadboard is a fantastic way to learn and experiment with electronics. It allows you to easily build and modify circuits without the need for soldering, making it a perfect tool for beginners and hobbyists alike. With practice, you’ll become more skilled at using breadboards and understanding how electronic components work together. Enjoy building your circuits and discovering the wonders of electronics!
