Back to: LASER ENGRAVING
0
Now that you’ve got your cool, engraved project, let’s make sure it stays looking awesome for a long time. Here’s how you can clean and check your item to keep it looking its best:
Cleaning Your Engraved Item
- Getting Rid of Dust and Residue:
- Why Clean? After engraving, dust, soot, or other leftover bits can make your design look messy. Cleaning helps show off your work.
- How to Clean:
- Wood: Use a soft cloth to wipe off dust. If there’s more residue, lightly dampen the cloth with water. Don’t soak the wood! You can also use wood polish for a nice shine.
- Metal: Use a metal cleaner and soft cloth to wipe it clean. Be gentle to avoid scratching the metal.
- Acrylic: Mix mild soap and water. Use a soft cloth to clean the acrylic and dry it with another soft cloth.
- Leather: Use a leather cleaner and soft cloth. Don’t get it too wet—let it dry naturally.
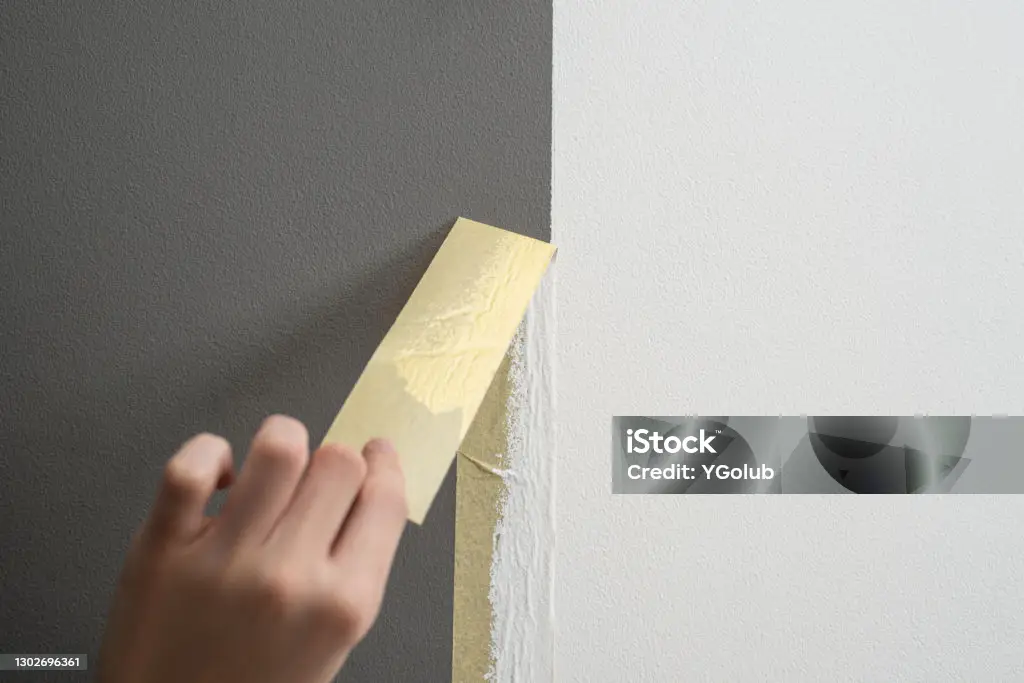
- Taking Off Masking Tape:
- Why Remove It? The tape protects the surface while engraving, but we need to take it off carefully to avoid sticky marks.
- How to Remove:
- Slowly peel off the tape. If there’s sticky residue, use a little rubbing alcohol on a soft cloth to clean it off gently.

Photo credit: istock
Inspecting Your Project
- Looking for Imperfections:
- Why Check? You want to make sure everything looks perfect!
- What to Look For:
- Is your engraving complete? No missed spots?
- Are there any burn marks or discoloration from the laser?
- Is everything aligned properly, or did the design shift?
- How to Fix:
- For small burn marks, you can gently sand (for wood) or polish (for metal).
- If the engraving isn’t right, you might need to check your settings or try again.
- Testing Fit and Function:
- Why Test? If your project has parts that need to fit together, like a puzzle or a tool, make sure they all work as they should.
- How to Check:
- Put all the parts together to make sure they fit.
- Test any moving parts to see if they work properly.
Conclusion
Cleaning and checking your engraved project is a great way to make sure it looks great and lasts longer. Now you can enjoy your amazing creation and be proud of the work you did!
