Back to: 3D PRINTING: From Ideas to Objects!
Slicing software is one of the most important tools in 3D printing. It transforms your 3D model into printable instructions that guide your 3D printer to build your design layer by layer. In this guide, we’ll walk through how to use slicing software, focusing on Ultimaker Cura, a popular slicer for beginners and pros alike.
What is Slicing Software?
Slicing software, like Cura, is used to convert your 3D model into G-code—this is the language the 3D printer understands. It breaks your 3D model into thin horizontal layers and tells the printer how to print each one, including details like movement, speed, and material extrusion.
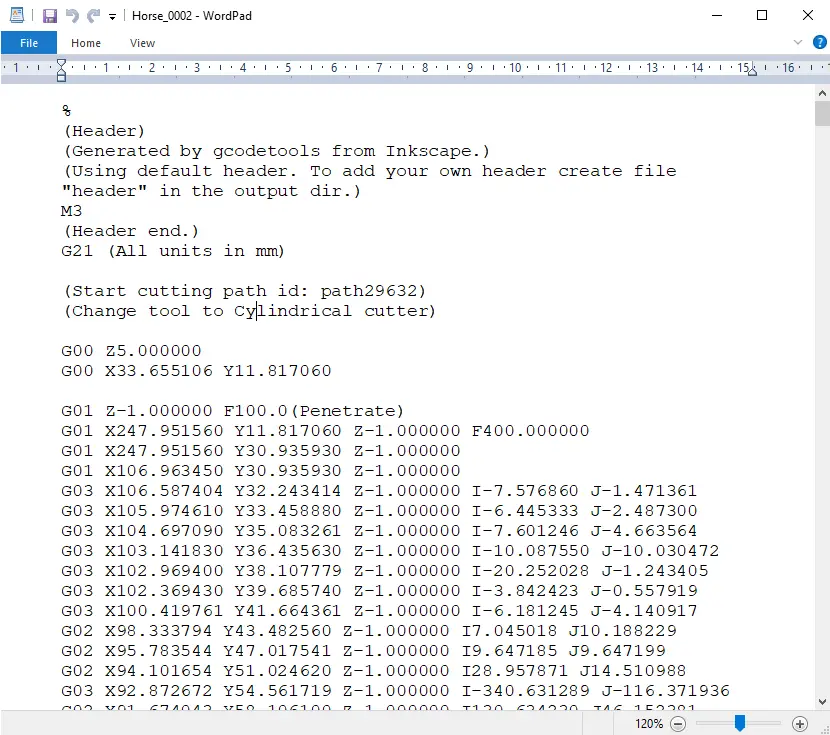
G-code:
This code provides instructions such as:
- How fast the print head moves
- The path the nozzle should take
- The temperature settings
- The layer-by-layer construction process

Photo credit: howtomechatronics.com
Ultimaker Cura?
Overview:
Cura, developed by Ultimaker, is one of the most popular and widely used slicing programs. It has a simple interface that’s great for beginners while still offering advanced options for more experienced users.
Features:
- Pre-configured profiles for many printers
- Customizable quality and print settings
- Advanced options for more control over your prints
Best For:
Cura is ideal for beginners who want easy-to-use settings but still need room for more advanced tweaking as they improve their 3D printing skills.

Photo credit: commons.wikimedia.org
Step-by-Step Guide to Using Slicing Software (Ultimaker Cura)
1. Import Your 3D Model
- Open Cura.
- Click the Import or Add button to bring in your 3D model (usually in STL or OBJ format).
- The model will appear on the virtual print bed in the software.
2. Position and Scale Your Model
- Move and Rotate: Use the tools in the software to adjust the placement and orientation of your model on the print bed.
- Scale: If necessary, resize your model to make sure it fits within your printer’s build area (the maximum printable space).
- Check Fit: Ensure that your model is properly centered and doesn’t extend beyond the print bed limits.
Tip: Always make sure the model fits within the printable area to avoid print failures.
3. Configure Print Settings
Now it’s time to adjust the settings for your print:
- Layer Height:
- This controls how thick each printed layer will be. A smaller layer height (like 0.1 mm) produces finer detail but takes longer to print.
- Infill Density:
- This defines how solid the inside of your model will be. A higher infill density (like 50%) makes the model stronger but uses more material and takes longer to print.
- Print Speed:
- This controls how fast the printer moves. Faster speeds can decrease print quality but shorten the print time.
- Supports:
- If your model has overhangs (parts of the model that extend without support), you’ll need to add supports. Cura can generate these automatically, or you can add them manually.
- Rafts:
- A raft is a base layer that helps the model stick better to the print bed. It also makes removal easier. Like supports, rafts can be generated automatically or manually.
4. Preview Your Model
- After setting everything up, use the Preview feature to simulate how your model will be printed.
- The preview will show how the printer will lay down each layer, helping you spot issues like missing supports or wrong settings before printing.
- Check areas with overhangs or complex shapes to make sure the print will work as expected.
Tip: The preview is one of the most helpful tools to spot problems before committing to a long print session.
[image: gif of me doing all the above mentioned]
5. Generate the G-code
- Once everything looks good in the preview, click the Slice or Generate G-code button.
- Save the resulting G-code file on your computer or directly onto an SD card or USB drive that you’ll use with your 3D printer.
[image: gif of me doing it]
6. Transfer the File to Your Printer
- Insert the SD card or USB drive into your printer.
- Select the file from your printer’s menu and start the print.
Using slicing software is a fundamental part of 3D printing that prepares your 3D model for production. With practice, you’ll become more comfortable with slicing software and be able to fine-tune your prints to match your exact needs. Happy slicing and printing!
