Back to: 3D PRINTING: From Ideas to Objects!
Before hitting the “Print” button, there’s one important step to tackle: preparing your 3D files correctly! Even the best designs can fail without the proper setup, so let’s go over some essential tips to ensure you get great results.
1. Choosing the Right File Format
File formats are like different languages that tell your computer how to understand your design. Here are some common formats for 3D printing:
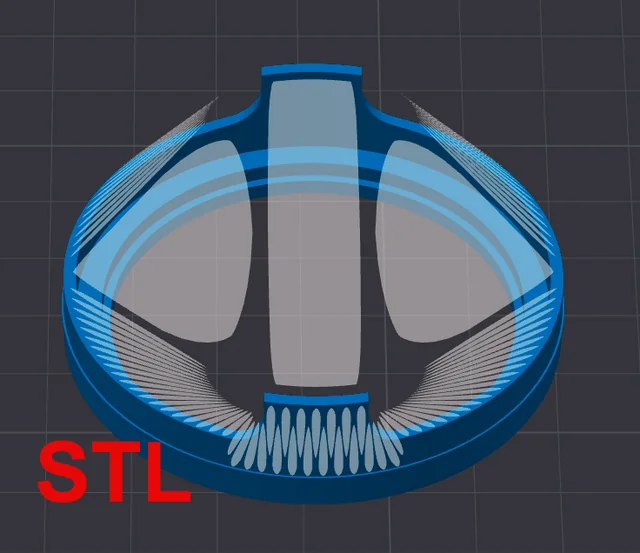
- STL (Stereolithography): This is the most common file format for 3D printing. It includes the shape of your model but doesn’t include colors or textures.
- OBJ: This format can include color and texture information, great for detailed and colorful prints.
- 3MF (3D Manufacturing Format): A newer format that supports colors and textures, it’s gaining popularity with modern printers.
Tip: For most 3D printing projects, STL files are the easiest to use and work with most slicing software.

Photo credit: reddit.com
2. Checking Your Design
Before you print, make sure your design is ready by checking for common issues that could mess up the printing process:
- Non-Manifold Edges: These are edges that don’t form a complete surface or are shared by more than two faces. They can cause print problems.
- Holes in the Mesh: Gaps or holes in your model can cause the printer to fail.
- Overhangs and Unsupported Areas: Parts of your design that extend outward without support might cause the print to collapse.
Tip: Use your CAD software’s error-checking tools to fix these issues automatically.
[image: a collage of this problems with a red sign on them and circle highlighting the affected area]
3. Scaling Your Model
Sometimes, your model needs resizing to fit your printer’s build area or to meet your design needs.
Why Scaling Matters:
- If the model is too big, it might not fit on the print bed.
- If it’s too small, the details might get lost in the print.
How to Scale:
- Use scaling tools in your CAD or slicing software.
- Check the model’s dimensions and compare them to your printer’s build area to avoid scaling issues.
Tip: Adjust the size in the design software first, but you can also scale in slicing software before printing.
[image: two same models with different scales side by side]
When you are done, export your model file (usually STL) and save to your computer. You are now ready for the next step, preparing your 3d printer’s instructions/G-code using the slicing software.
