Back to: LASER ENGRAVING
We have talked about laser engraving as a cool way to make designs on materials like wood, acrylic, or metal. Next, let’s talk about how to create your design and get it ready to engrave with a laser machine. Follow these tips carefully to get your first design up and running.
1. Measure the Material
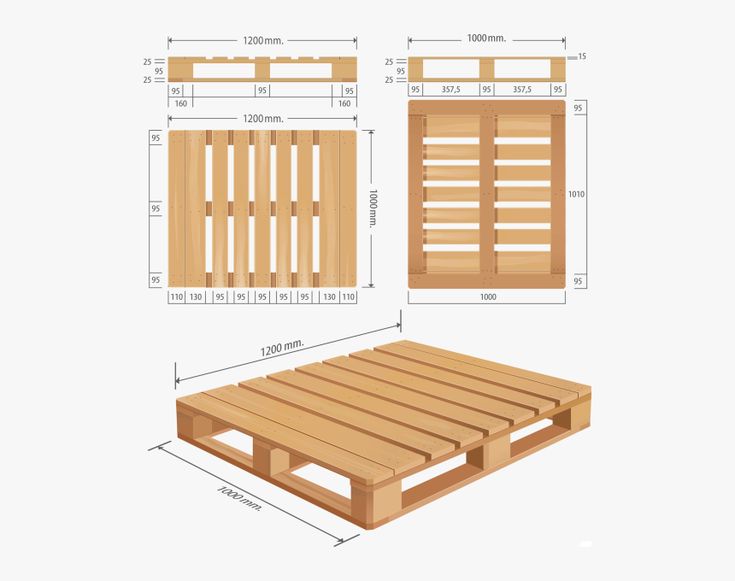
First, measure the material you want to engrave to know how much space you have for your design.
- Width and height: Use a ruler or tape measure.
- Thickness: This helps set the right laser power.

Photo credit: pinterest.com
2. Choose Your Design Software
You need to use software to create your design. Some good choices are:
- LaserGBRL (free and easy to use for beginners)
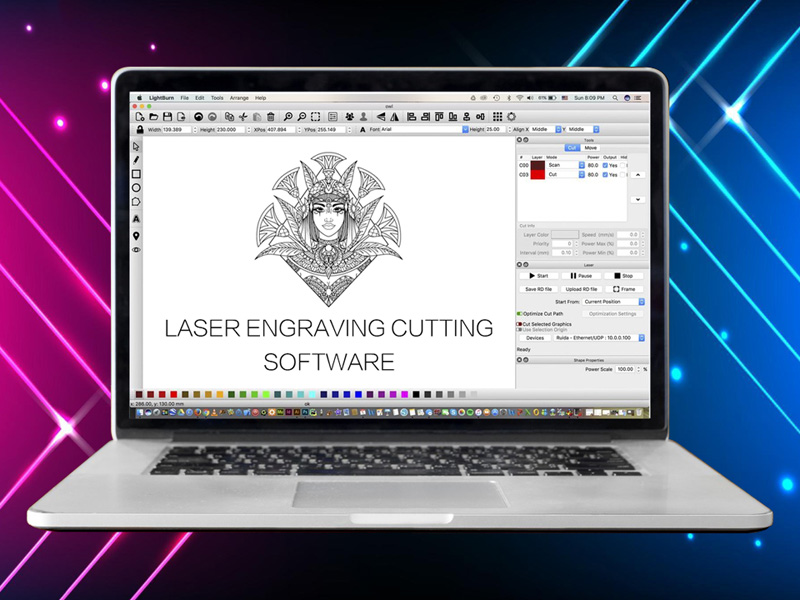
- Lightburn (easy for beginners, not free but has free 30 days trial)
- Inkscape (free and beginner-friendly)
Make sure your software lets you save your design in either of these formats:
- SVG (Scalable Vector Graphics): this is the most common format. It can be resized without losing quality, great for clear engravings.
- AI (Adobe Illustrator): A file from Adobe Illustrator, perfect for detailed designs and keeping everything organized.
- EPS (Encapsulated PostScript): A file format that works with many engraving machines and keeps your design looking sharp.
3. Set Up Your Design
Now, it’s time to design! Here’s how to do it:
- Create a new document: Set the size to match your material. For example, if you’re using a 12×12″ piece of acrylic, set the document size to 12″ x 12″.
- Place your design: Move your design inside this size area.
- Adjust your design: Make sure it fits well and is positioned where you want it on the material.

Photo credit: stylecnc.com
4. Make Your Design Ready for Engraving
Laser engravers work best with simple and clean designs. Follow these tips:
- Use vector graphics: These are shapes made with lines, not pictures. They’re easy for lasers to follow.
- Avoid tiny details: The laser might not engrave tiny things well.
- Clear lines: Make sure your lines are continuous and not broken.
5. Color Code Your Design (Optional)
In your design software, you can use different colors to tell the laser how to work. For example:
- Red: Cutting the material.
- Black: Engraving the material.
- Blue/Gray: Light engraving or marking.
This helps the laser know what to do for each part of your design.
[image: screenshot of the above]
6. Set the Laser Engraving Settings
Different materials need different laser settings:
- Power: This controls how deep the laser engraves. Higher power = deeper engraving.
- Speed: This controls how fast the laser moves. Slower = deeper engraving.
- DPI: If you’re using images, a higher DPI gives you more details, but it takes longer to engrave.
Start with the settings the laser machine recommends, and adjust them if needed.
[image:screenshot of this on the software]
7. Preview Your Design
Most design software has a preview mode that shows what the engraving will look like. Check your design for any mistakes or parts that don’t look right.
8. Save Your Design
Once you’re happy with the design:
- Save your work in the design software’s format (e.g., .ai or .svg).
- Export your design in a laser-friendly format like SVG or AI.
9. Transfer the File to the Laser Engraver
Now, you need to get your design onto the laser engraver:
- Use a USB drive: Save the file on a USB stick.
- Transfer it to the engraver: Plug the USB into the engraver and upload your design.
Once you’re happy with the test, load your material into the laser engraver and start the final engraving! By following these steps, you’ll create cool, precise designs on materials using a laser engraver. Have fun with your project!
