Back to: 3D PRINTING: From Ideas to Objects!
3D printing is a fun and innovative way to bring your ideas to life, but before you can print, you need to design! This guide will help beginners and young creators understand the basics of 3D design and share tips for creating models that look great and print perfectly.
What is 3D Design?
Before we start designing, let’s cover the basics:
- 3D Model: A digital version of the object you want to print. It’s like a blueprint for your printer.
- CAD Software: Short for Computer-Aided Design, this is where you create your 3D models. Beginner-friendly options include Tinkercad, Fusion 360, and Sketchup.
Top Tips for Beginners
1. Start Simple
- Why: Mastering basic shapes first makes it easier to learn without getting frustrated.
- Tip: Try making simple designs like cubes, pyramids, or basic objects. As you get comfortable, work on more detailed projects.
2. Pick the Right Software
- Why: The right tool makes designing easier and more fun.
- Tip: Use Tinkercad if you’re starting out—it’s simple and has drag-and-drop features perfect for learning. We have a beginners CAD course that you can check out after you’ve finished this course to start designing cool things for 3d printing.
[image: gif of me creating a simple table using cube shapes on tinkecad]
3. Understand How Printing Works
- Why: Knowing how your printer builds objects helps you avoid common design problems.
- Tip: Remember, 3D printers work layer by layer. Avoid designs with very thin parts , mistakes like holes or incomplete surfaces. Also, the way your model sits on the print bed affects strength and quality.
- Tip: Position your design to minimize supports and maximize stability. Place objects in a way that they can be printed layer by layer with no overhanging areas between.
4. Design with Tolerance
- What: Tolerance means adding small gaps so parts fit together properly.
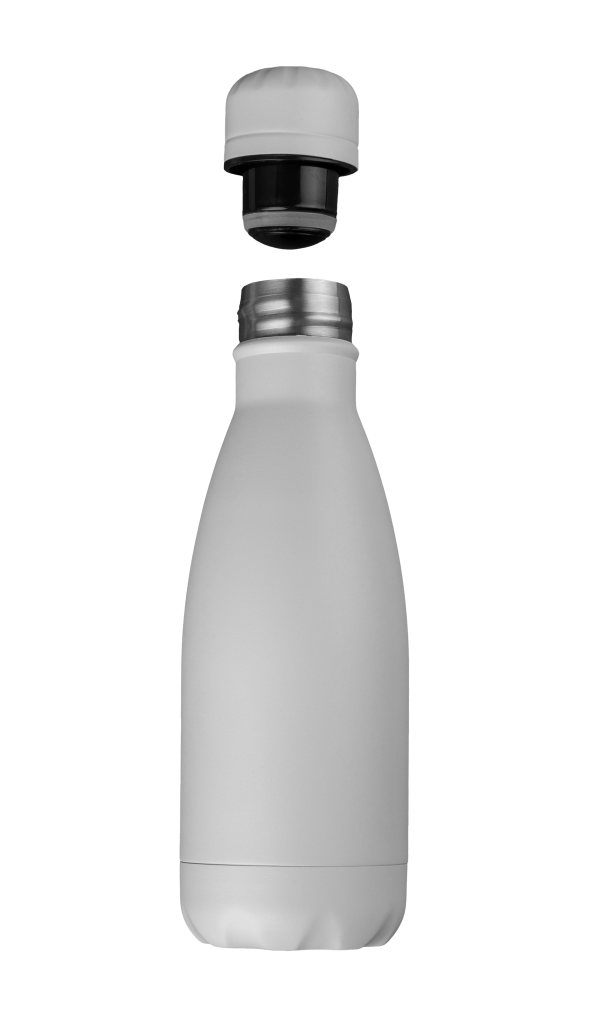
- Tip: For parts that connect, leave a gap of about 0.2–0.5 mm between them to ensure a good fit. Example, if you are designing a bottle that will have a cover, then the size of the cover should be slightly bigger than the top of the bottle, so that they fit well.

5. Add Textures or Patterns
- Why: Patterns make your designs more interesting and fun!
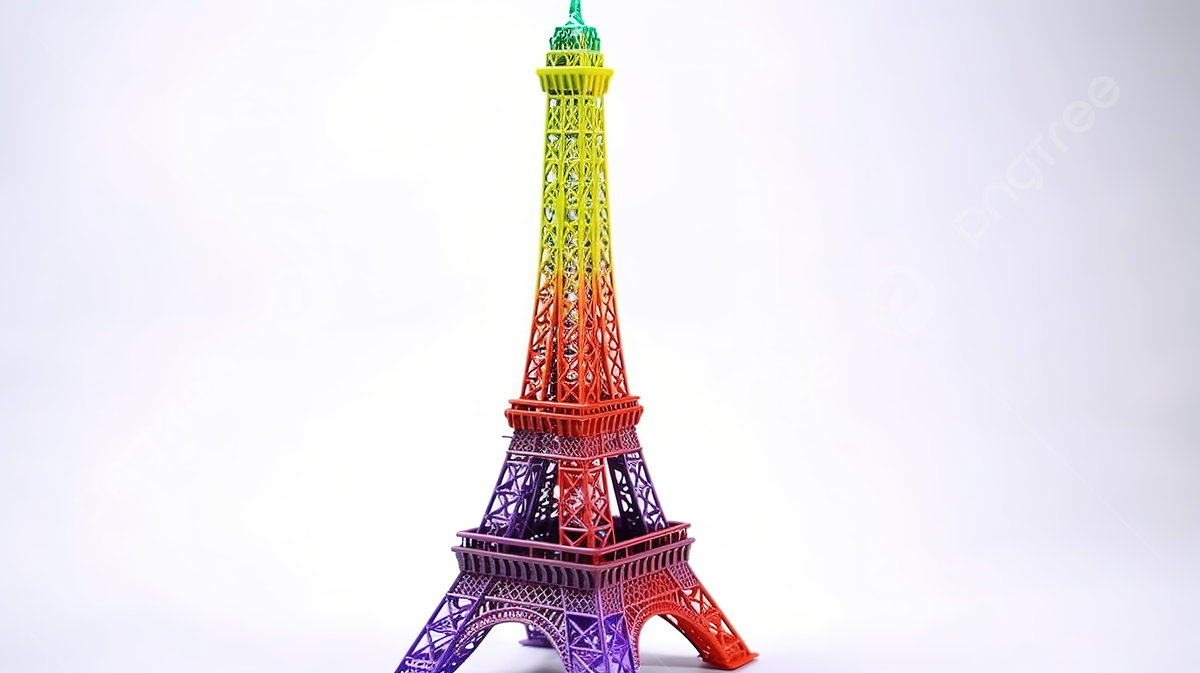
- Tip: Use CAD tools to create grooves, logos, or decorative patterns on your models.

Photo credit: Pngtree.com
6. Test and Prototype
- Why: Printing a smaller version of your design first saves material and time before printing the main thing.
7. Explore Design Libraries
- If you don’t want to create your designs but want to start printing, there are online platforms like Thingiverse or MyMiniFactory that offer pre-made models you can print. You can even customize these models by editing their designs in a CAD software.
8. Keep Notes
- Why: Tracking your successes and challenges helps you improve.
- Tip: Write down what worked well, what didn’t, and what you want to try next time.
[image: someone writing notes of what went wrong with their 3d print]
Mastering 3D Design
Learning to design for 3D printing takes practice, but with these tips, you’re off to a great start. Start simple, keep experimenting, and don’t be afraid to make mistakes—they’re part of the learning process!
Remember: every model you create brings you one step closer to becoming a 3D design pro. Have fun designing, and happy printing!
