Back to: LASER ENGRAVING
0
Getting your laser engraver ready might sound tricky, but it’s straightforward if you follow these steps. Let’s go from unboxing to your first test run!

Photo credit: alibaba.com
1. Unboxing and Inspection
- Unbox Carefully: Remove the laser engraver and components from the box. Check for damage during shipping.
- Check the Contents: Ensure all items are included:
- Laser machine body
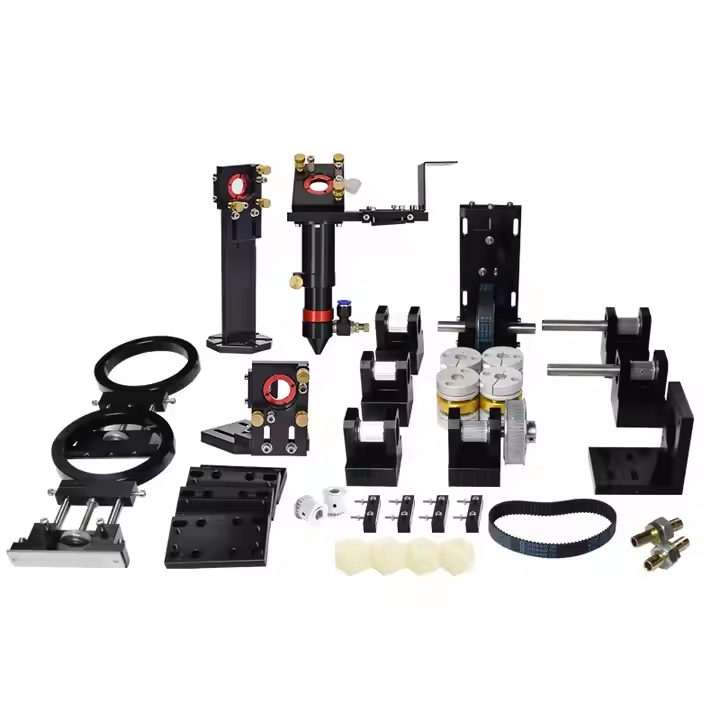
- Laser tube, mirrors, and lens
- Control panel and power supply
- Cables, connectors, and accessories like focus tools
- Read the Manual: Quickly review the user manual for an overview of your model and setup steps.
2. Assembling the Laser Engraver
- Set It Up: Place the engraver on a stable, level surface with enough ventilation and workspace.
- Attach Components: Assemble any loose parts, such as the laser tube or lenses, as instructed. Handle delicate parts carefully!
- Connect Wires: Plug in cables for the power supply and control panel.
[image: step by step assembly of laser engraver]
3. Installing the Software
- Install Software: Download the control software from the manufacturer or use the included disk.
- Connect to Your Computer: Use a USB cable or other specified connection.
- Configure Settings: Enter details like the machine’s size and supported materials in the software settings.
4. Preparing the Material and Work Area
- Clean the Bed: Ensure the engraving surface is free of dust or debris.
- Position the Material: Secure your material using clamps, magnets, or adhesive to keep it steady.
- Align Properly: Use software tools or guides to align the material with your design.
5. Focusing the Laser
- Adjust Focus: Use a focus tool or measure the correct distance between the laser lens and material.
- Auto-Focus Option: Some machines adjust focus automatically; if not, set it manually based on material thickness.
6. Performing a Test Run
- Load a Simple Design: Start with something small, like a shape or initials, to test the machine.
- Run the Test: Watch the process to ensure the machine is operating correctly.
- Fine-Tune Settings: Adjust power, speed, or focus based on the test results.
7. Safety Checks
- Inspect the Machine: Ensure all parts are secure, and no wires are loose.
- Ventilation: Make sure fumes are being vented properly with built-in fans or an exhaust system.
- Protect Yourself: Always wear safety goggles and follow laser safety guidelines.
With your laser engraver set up, you’re ready to start engraving! Always double-check your settings and stay safe while working with the machine. Happy engraving!
